
MAME Cabinet
●▬▬▬▬▬▬▬▬▬▬▬▬๑۩ Aug 06 2020 ۩๑▬▬▬▬▬▬▬▬▬▬▬▬●
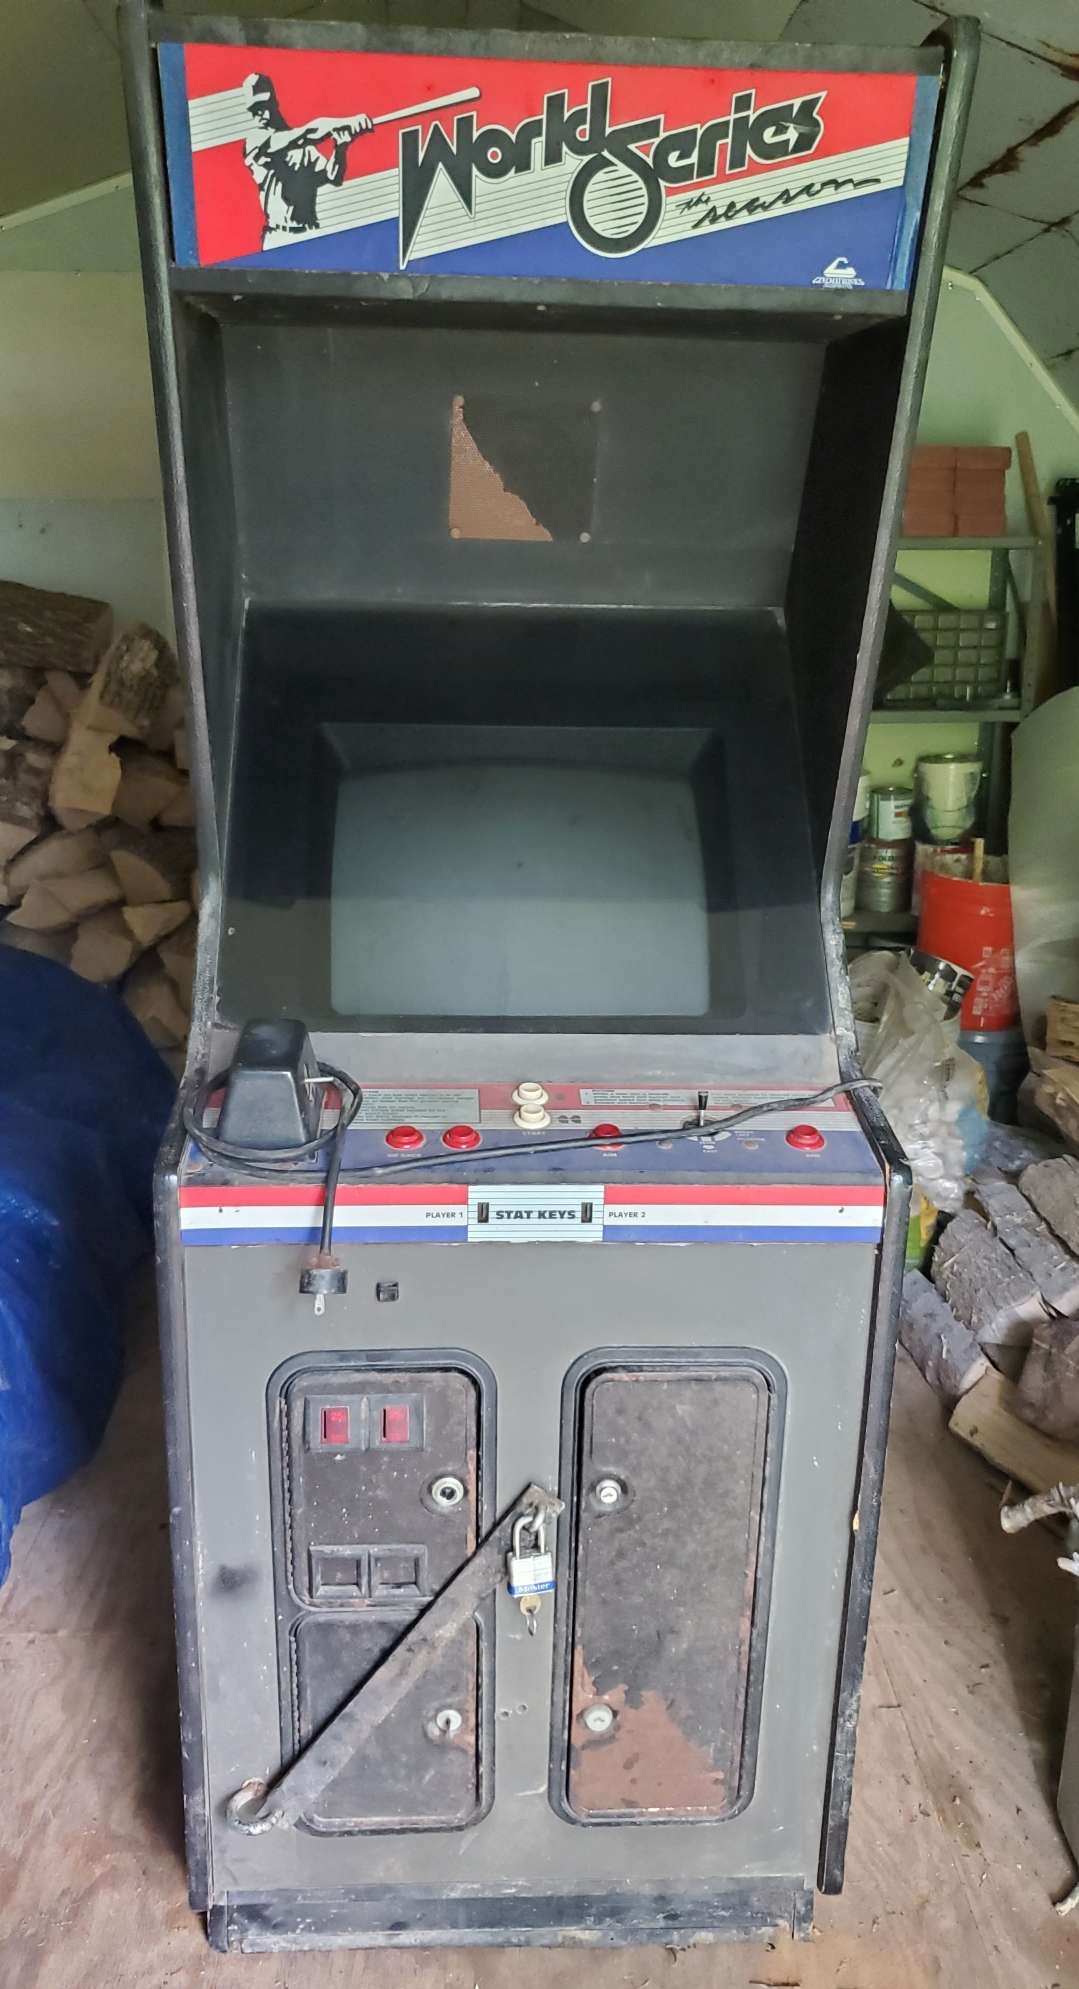
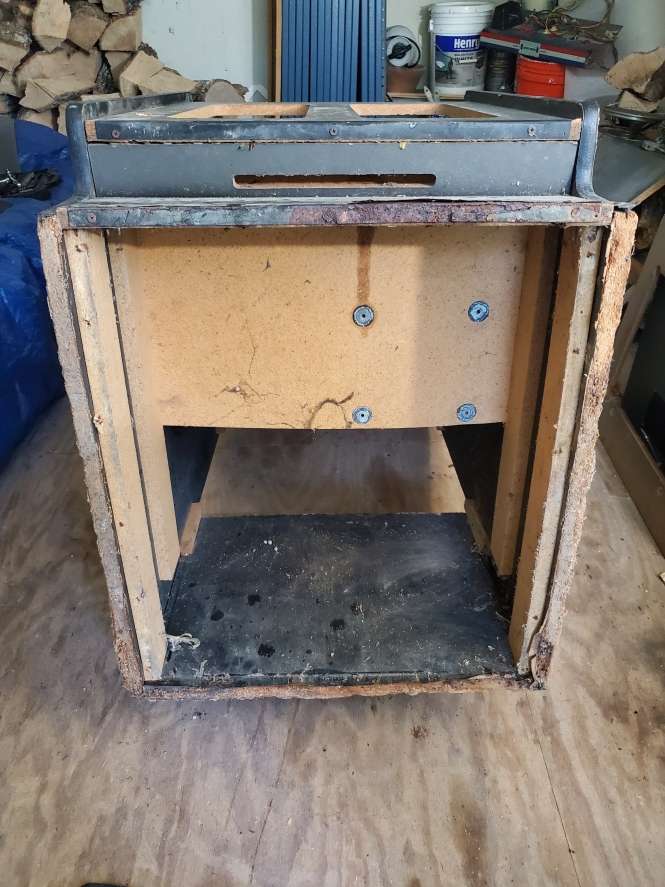
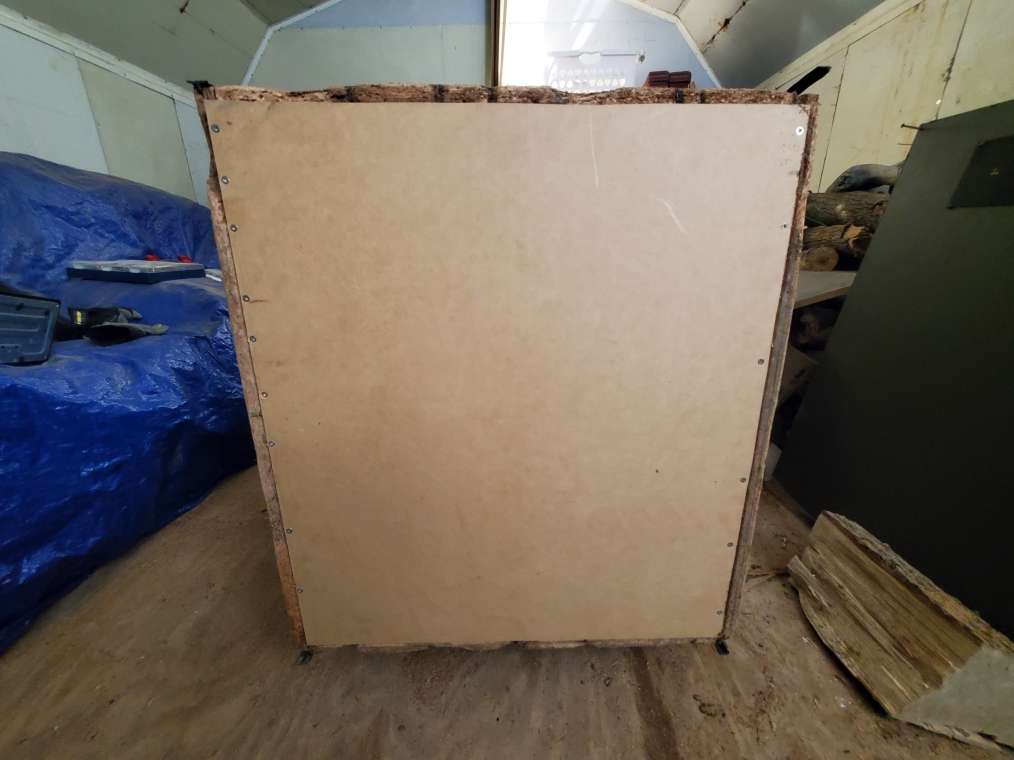
So, 20 years on, I have finally got my hands on a cabinet for a decent price, that I’m going to be able to turn (hopefully) into a MAME cabinet.
I haven’t really decided on a layout of this I might have sub menus for pictures, and text here for updates and a WordPress Kanban to help me organize stuff, or I might completely go another direction who knows. It will evolve over time. Anyways, here is a base picture of the cab in my shed just as I got it today.
●▬▬▬▬▬▬▬▬▬▬▬▬๑۩ Aug 09 2020 ۩๑▬▬▬▬▬▬▬▬▬▬▬▬●
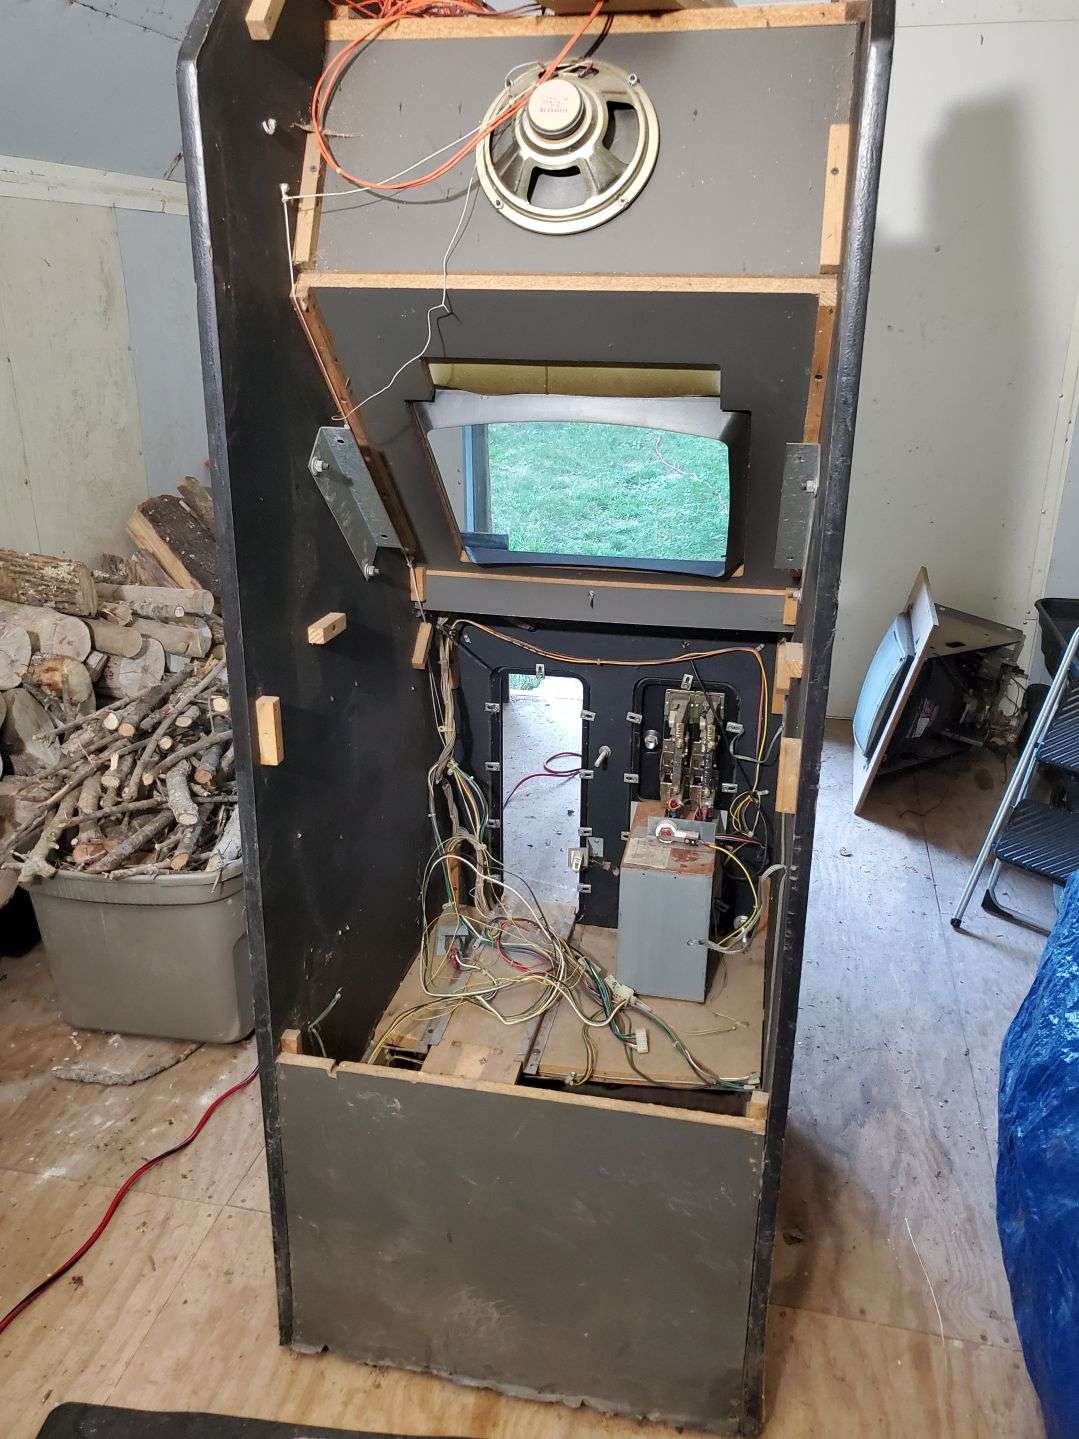
So I’ve started on ripping the guts out, then I can decide on what I do with said guts, keep, sell, etc (probably sell) even with the CRT monitor removed, it’s bladdy heavy. I need to work out how to remove the control panel, so I’m able to replace it with a normal 2 player style control panel.
Things I defo need/want to do.
- Get a new base from DIY store [need to measure exact]
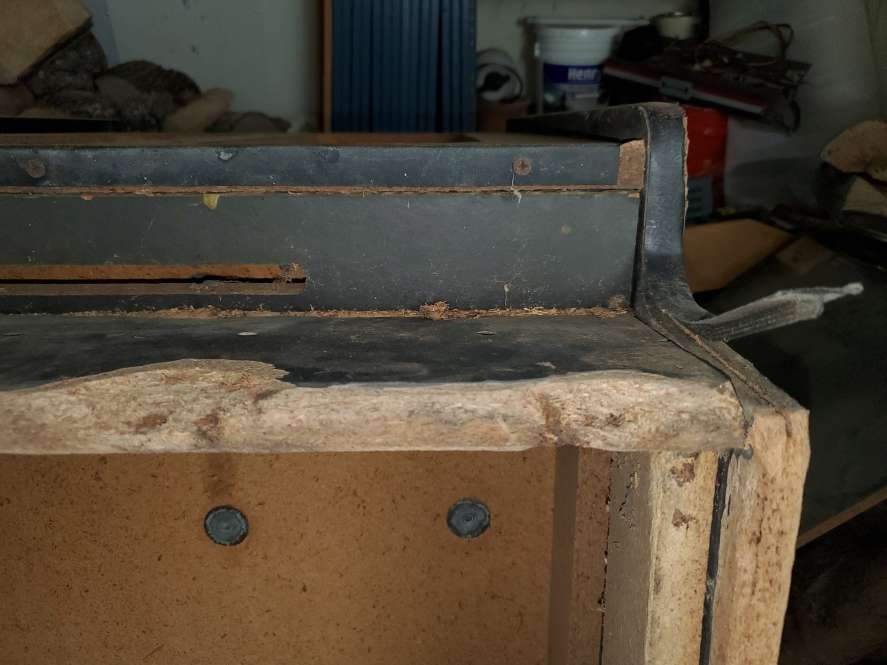
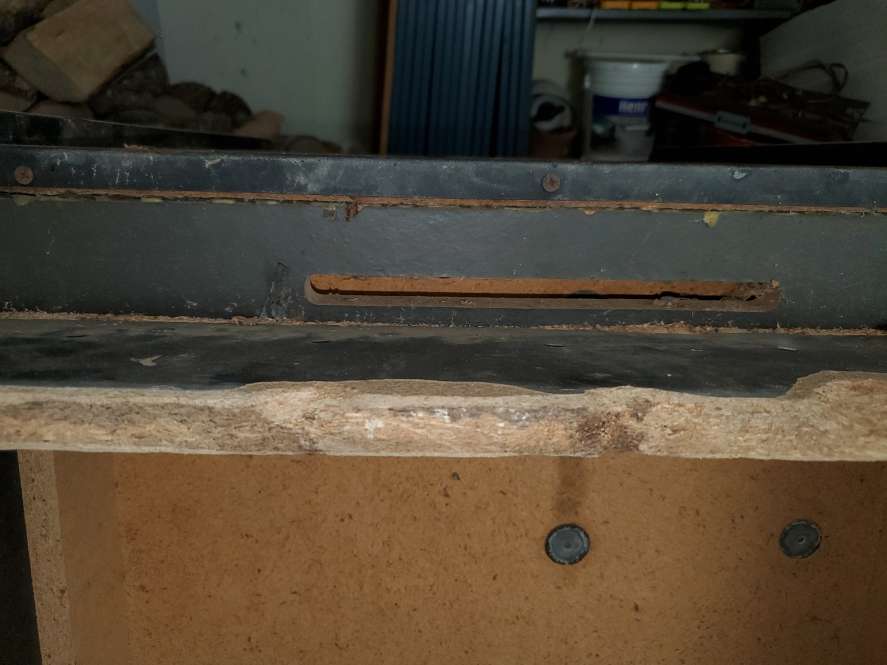
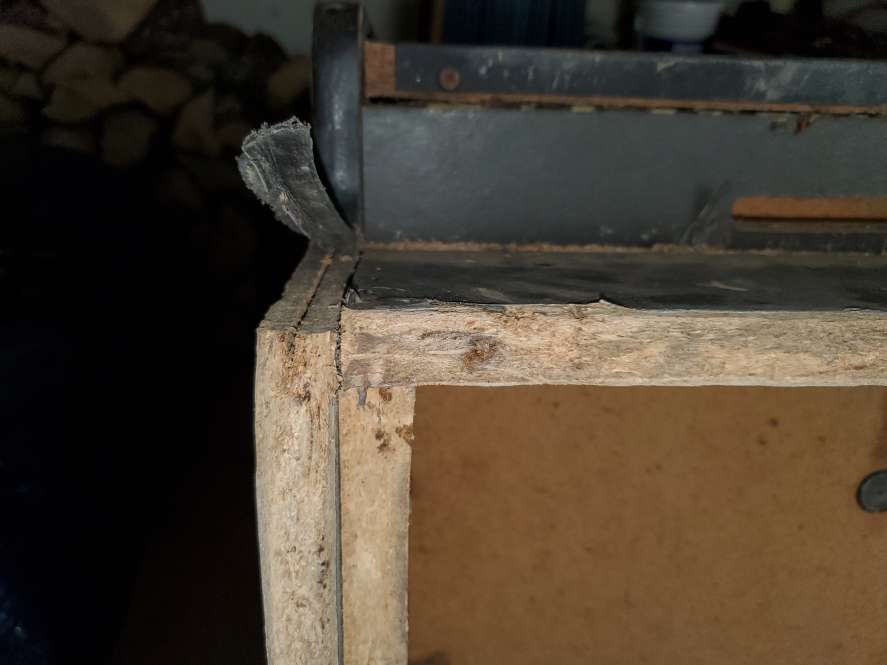
- Touch up and fix any peeled away areas [need to take photos of that]
- Speaker Cover needs replacing
- [will add more as I think of them]
Things I don’t know what to do about
- Sell CRT Monitor
- Get Rid / Keep Coin Mechanism
- [will add more as I think of them]
●▬▬▬▬▬▬▬▬▬▬▬▬๑۩ Aug 23 2020 ۩๑▬▬▬▬▬▬▬▬▬▬▬▬●
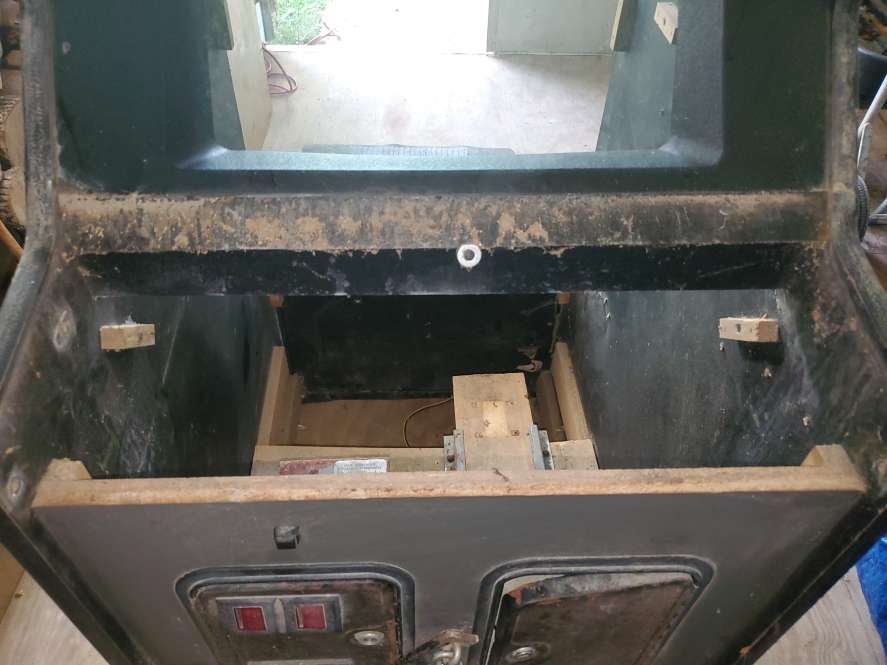
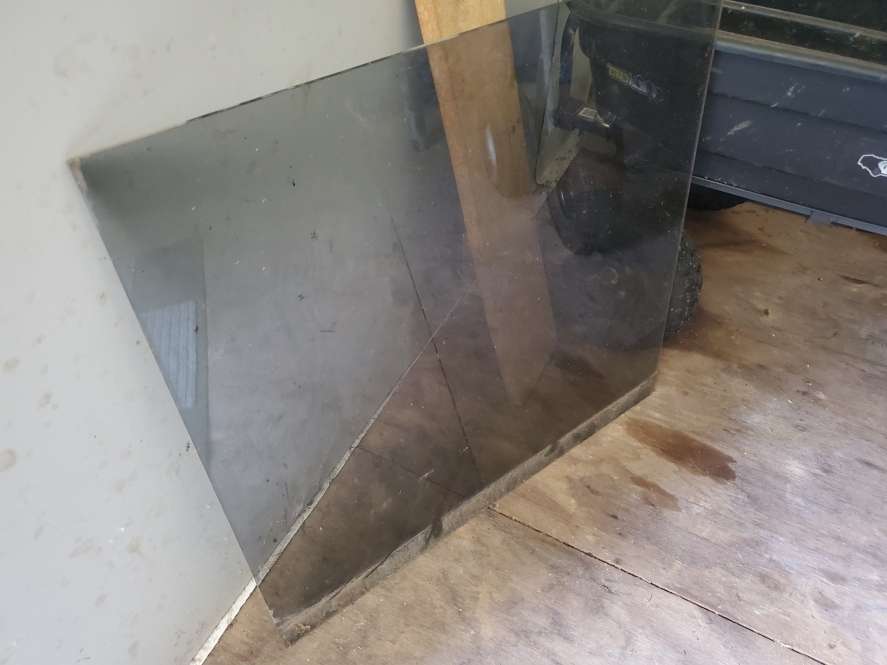
More ripping of the innards to get it to a point were I am just left with the shell, then I’ll be able to work on the MDF wood issues. I’ve removed the glass and all the ‘extra’ bits like speaker cover and coin slot and doors, etc. Next I have to decide on wood putty or Bondo, and how I’ll go about supporting to fill. I’m thinking maybe cardboard either side of what I’m filling, or plywood, something that I can sand away once I’ve filled and it’s hardened. We’ll see. I’ll dump some more pictures in the pictures sections over on the right.
●▬▬▬▬▬▬▬▬▬▬▬▬๑۩ Sep 20 2020 ۩๑▬▬▬▬▬▬▬▬▬▬▬▬●
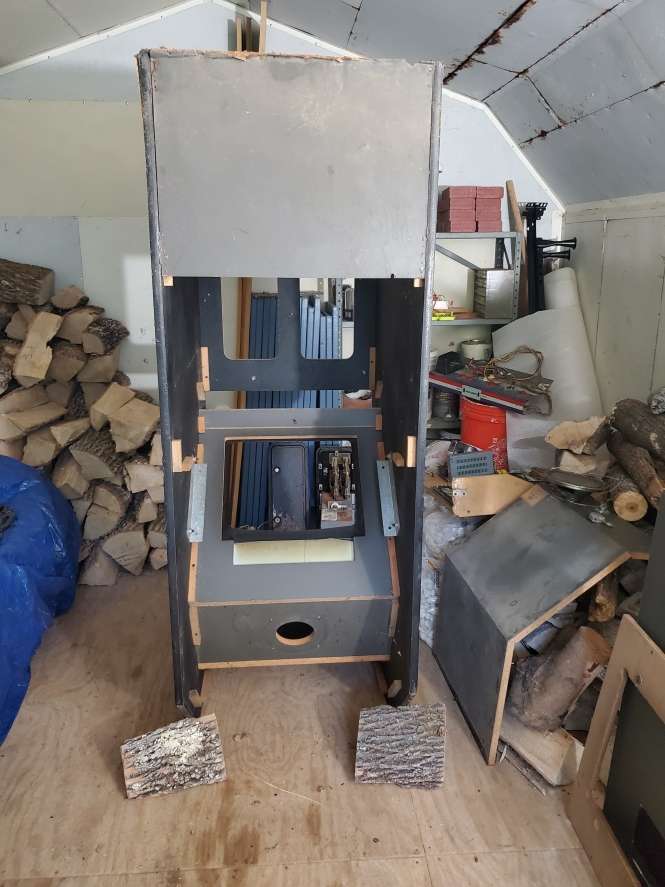
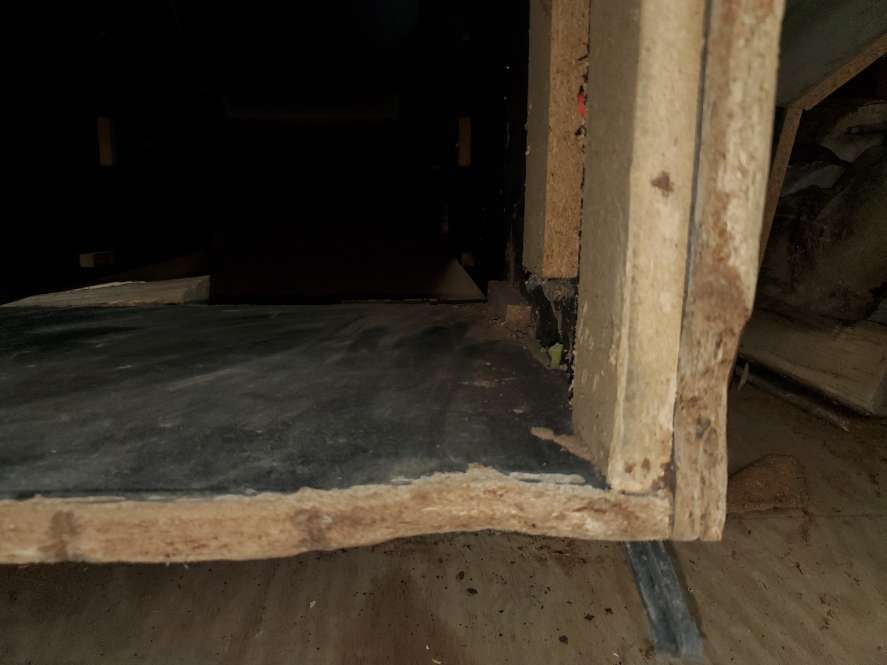
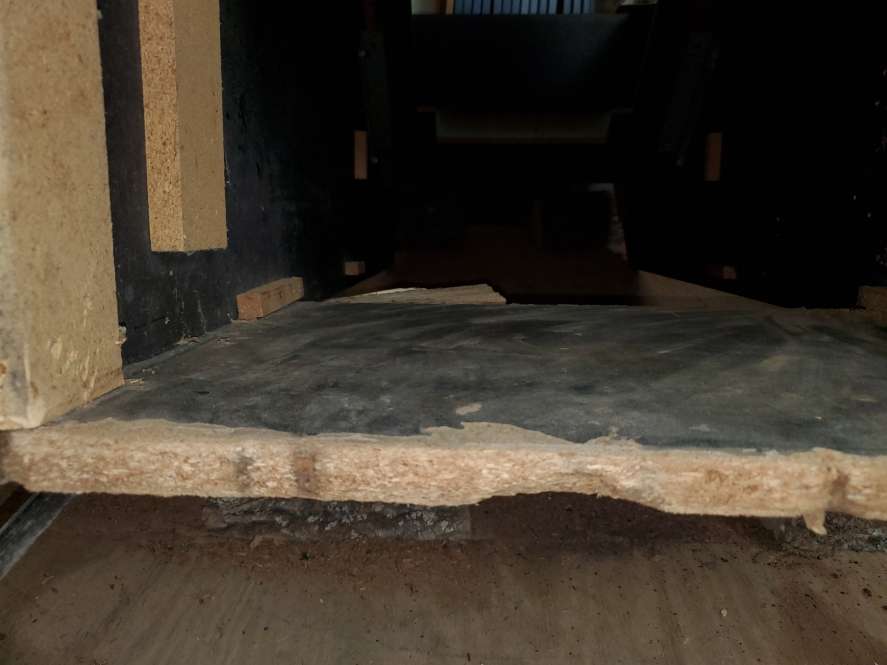
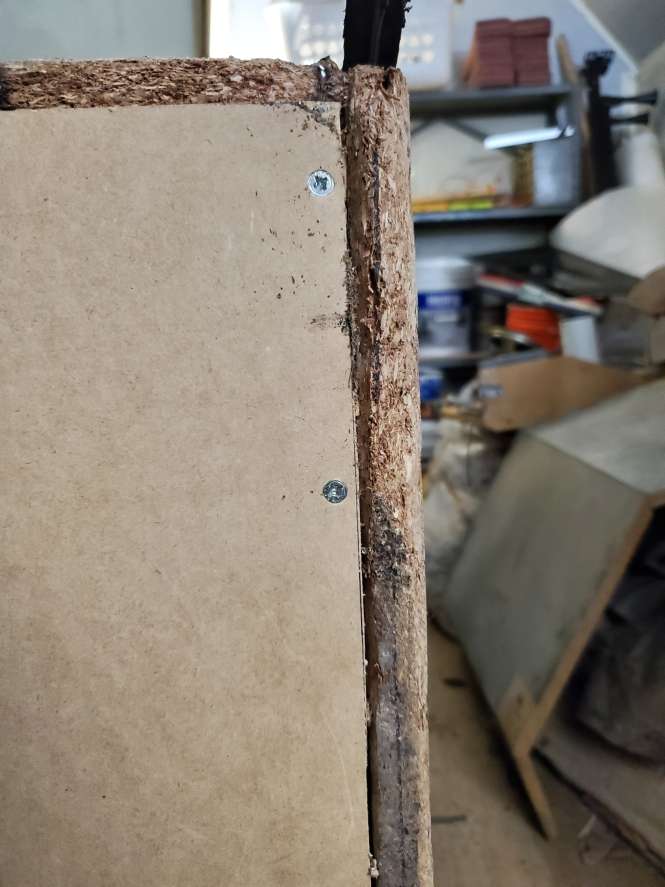
So, after ripping all the cuts out and being left with the shell, I decided it was time to sand off all the rough swollen MDF wood on the base, so I would be able to cut down a new piece of MDF to attach to the bottom, then I’ll be able to fill in the gaps, and have a new bottom (ooohh-errrr)
I now have help from a friend (Jake) and I’ll bounce ideas off him and get ideas from him moving forwards and he’s also going to be helping me when he can getting this thing restore. Here are some pictures of my sanding work.

●▬▬▬▬▬▬▬▬▬▬▬▬๑۩ Sep 22 2020 ۩๑▬▬▬▬▬▬▬▬▬▬▬▬●
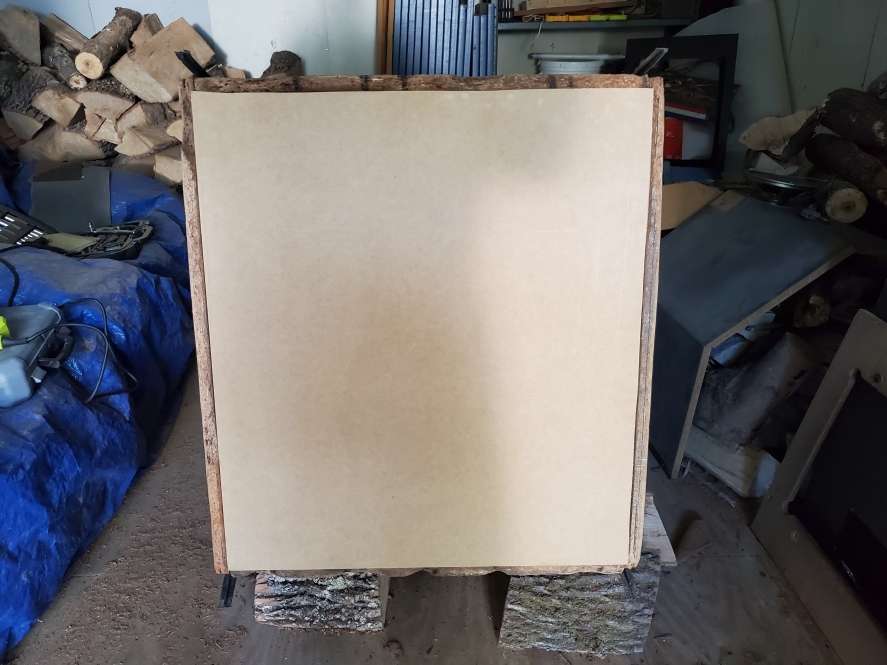
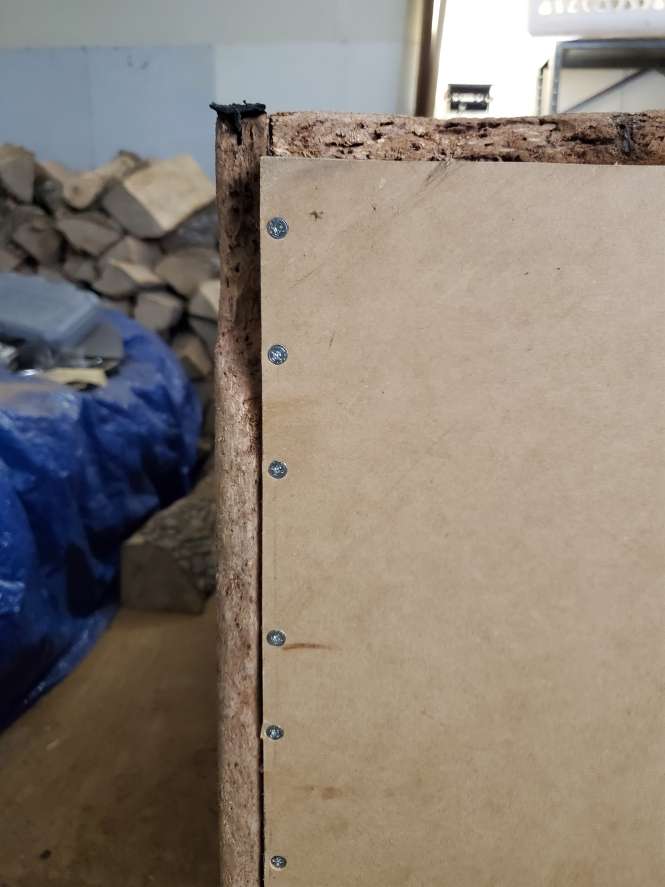
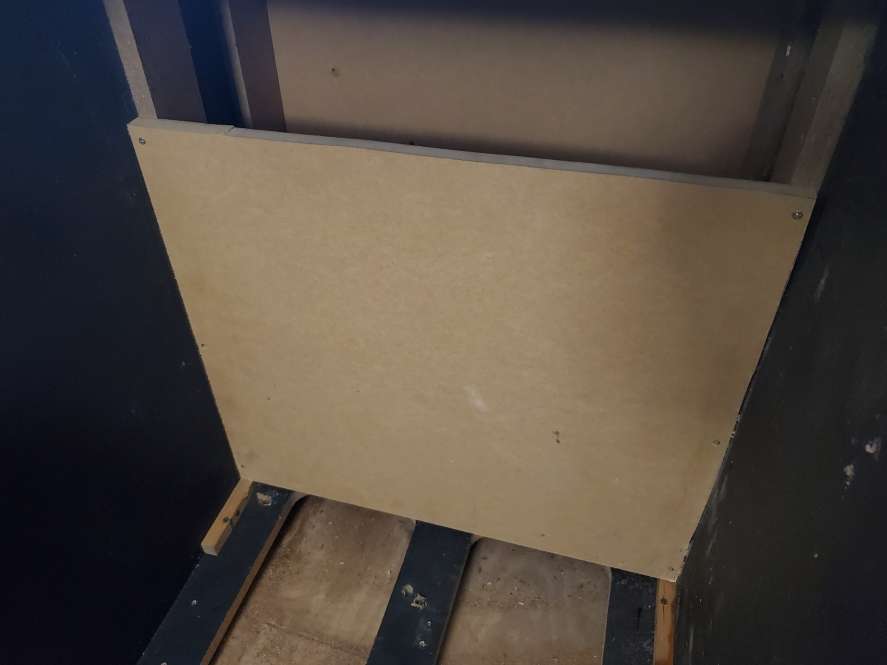
Decided to go and cut down the MDF piece of wood and ‘test’ fit it, ready for when Jake is able to be a second pair of hands to hold it while it’s screwed in place. Fits quite well.
●▬▬▬▬▬▬▬▬▬▬▬▬๑۩ Sep 27 2020 ۩๑▬▬▬▬▬▬▬▬▬▬▬▬●
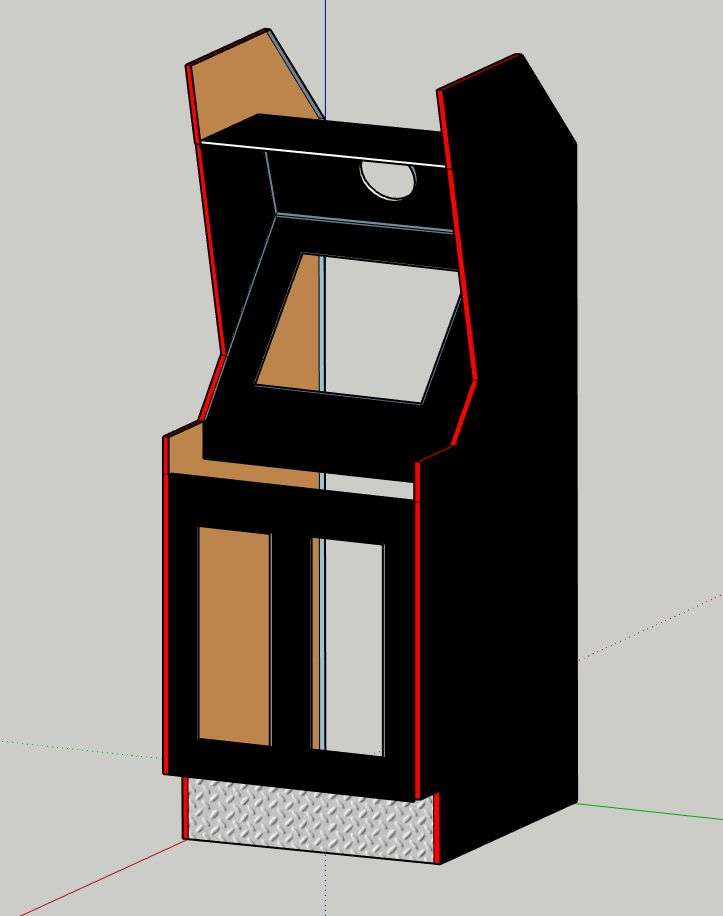
Convinced Jake to come around and hold it while I screwed it up, we used some fairly long screws and come at it from both sides and the front. We also replaced the inside piece that will support the PC and hardware inside. Happy with the results. Also, unsure if I’ve said it, I’ve decided it going to be a black unit with red t-molding.

●▬▬▬▬▬▬▬▬▬▬▬▬๑۩ Sep 30 2020 ۩๑▬▬▬▬▬▬▬▬▬▬▬▬●
I decided to jump into Sketch-up and make a mock model of what I wanted it to look like. So I can visualize things.
●▬▬▬▬▬▬▬▬▬▬▬▬๑۩ Oct 01 2020 ۩๑▬▬▬▬▬▬▬▬▬▬▬▬●
My first attempt of rebuilding the base, using wood filler, I know the whole base is hopefully going to have some sheet metal around it, so I’m not that bothered what it looks like and I’ll sand it down and paint it anyways.
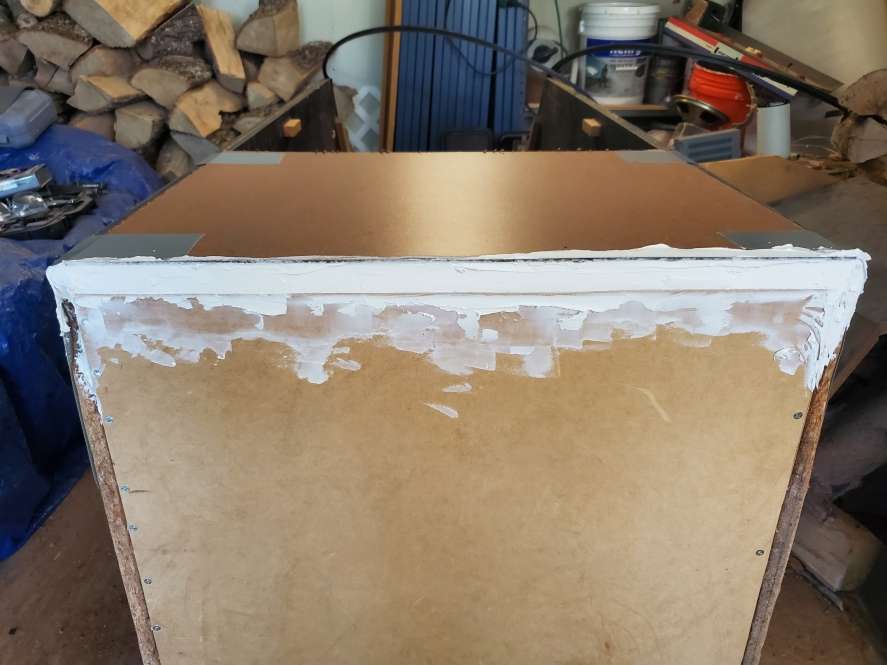
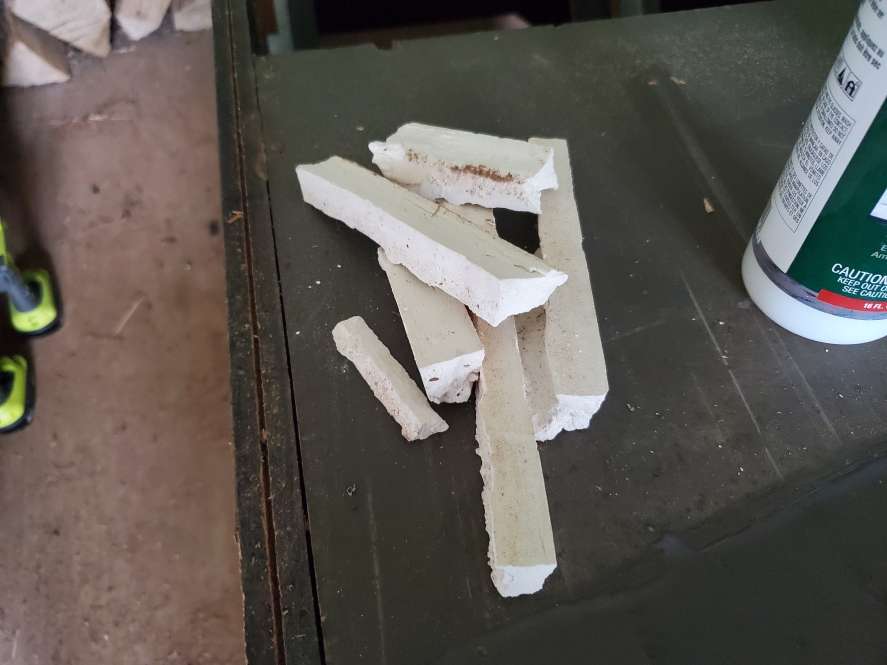
●▬▬▬▬▬▬▬▬▬▬▬▬๑۩ Oct 07 2020 ۩๑▬▬▬▬▬▬▬▬▬▬▬▬●
So, I learned the hard way, wood putty is NOT the thing I should have used (I’ll still use it just to fill the small holes and that stuff) I went out, I touched it, it felt nice and hard, I stood the cabinet up to turn it around to work on the other side and ‘plop’ it all fell off. Doh. Looks like i’ll need a plan b, time to bounce some ideas and search the internet. Oh, I also worked out the monitor I’ll be using, as to mounting it, unsure yet.
●▬▬▬▬▬▬▬▬▬▬▬▬๑۩ Oct 08 2020 ۩๑▬▬▬▬▬▬▬▬▬▬▬▬●
So, plan b, after research was, wood hardener (PC Petrifyer) and wood epoxy. So, I bought what I needed, and painted all around the wood to let the MDF soak it all in and make it a little more solid for when it comes to the epoxy on Sunday (hopefully)
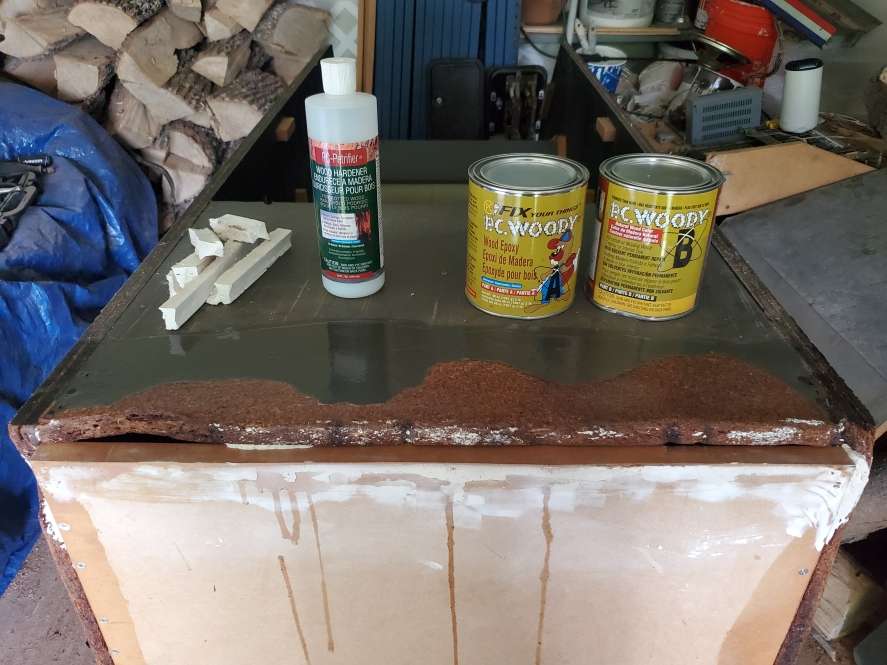
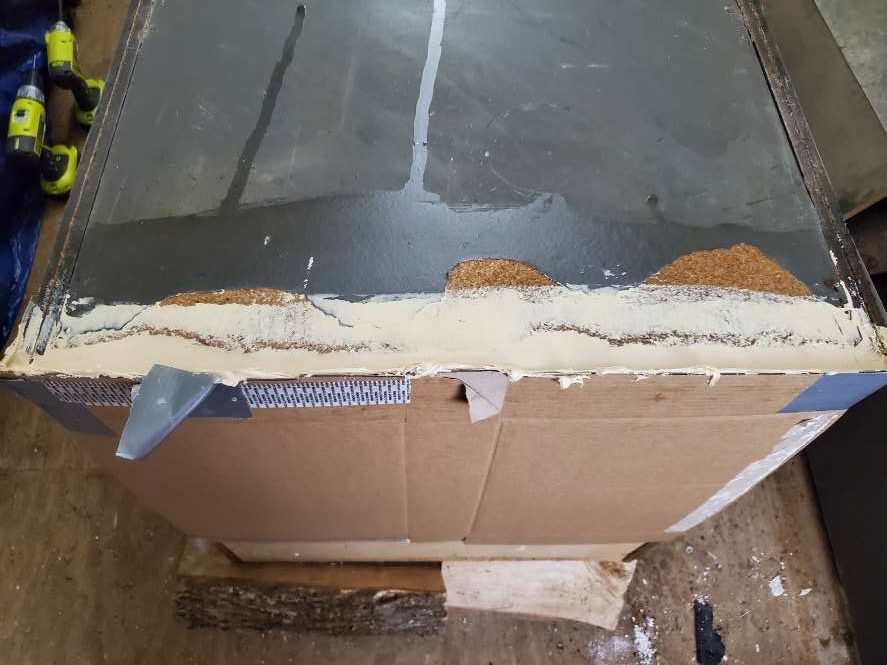
●▬▬▬▬▬▬▬▬▬▬▬▬๑۩ Oct 11 2020 ۩๑▬▬▬▬▬▬▬▬▬▬▬▬●
So, today was the day, we got the epoxy mixed and applied it to the edging, we used carboard to hold a area in place, and when we rip it off, it will need sanding. It takes about 24 hours (in the temp we’ve got) to solidify and about 7 days to fully cure, so it can be sanded, etc. So, the next pictures that will appear here, hopefully will be either a touch up of plan b (once it’s cured) or it will be all sanded as it didn’t need touch up, I really hope I don’t need to do to a plan c, but we’ll see.
You can find more pictures within my site, under it’s own page [just so I can dump pics in there] and to get there, click below